Welcome to the website of Dongguan Tuowa Machinery Manufacturing Co., Ltd!
丨 Sitemap
丨 Product
丨 contact us
丨 CN
-
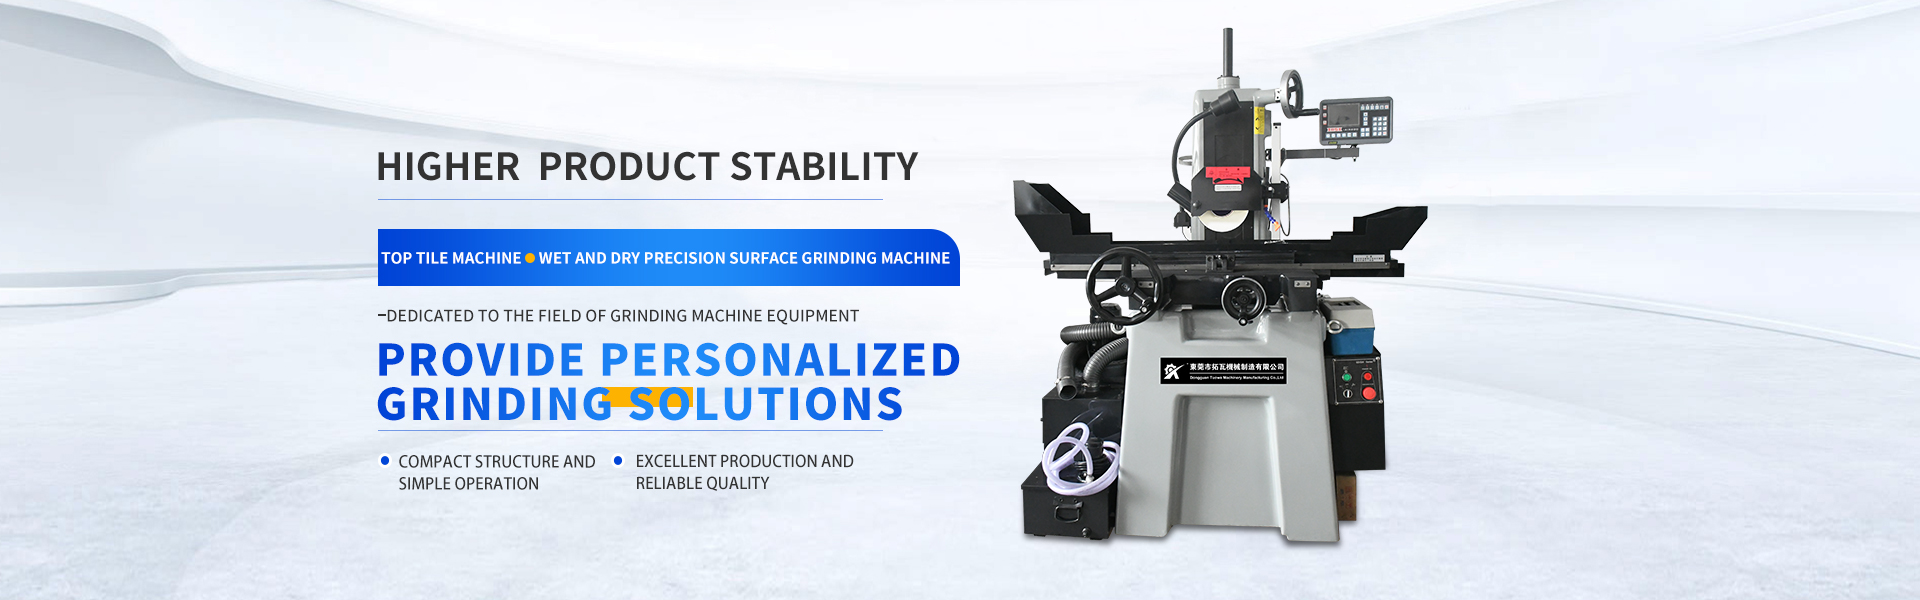
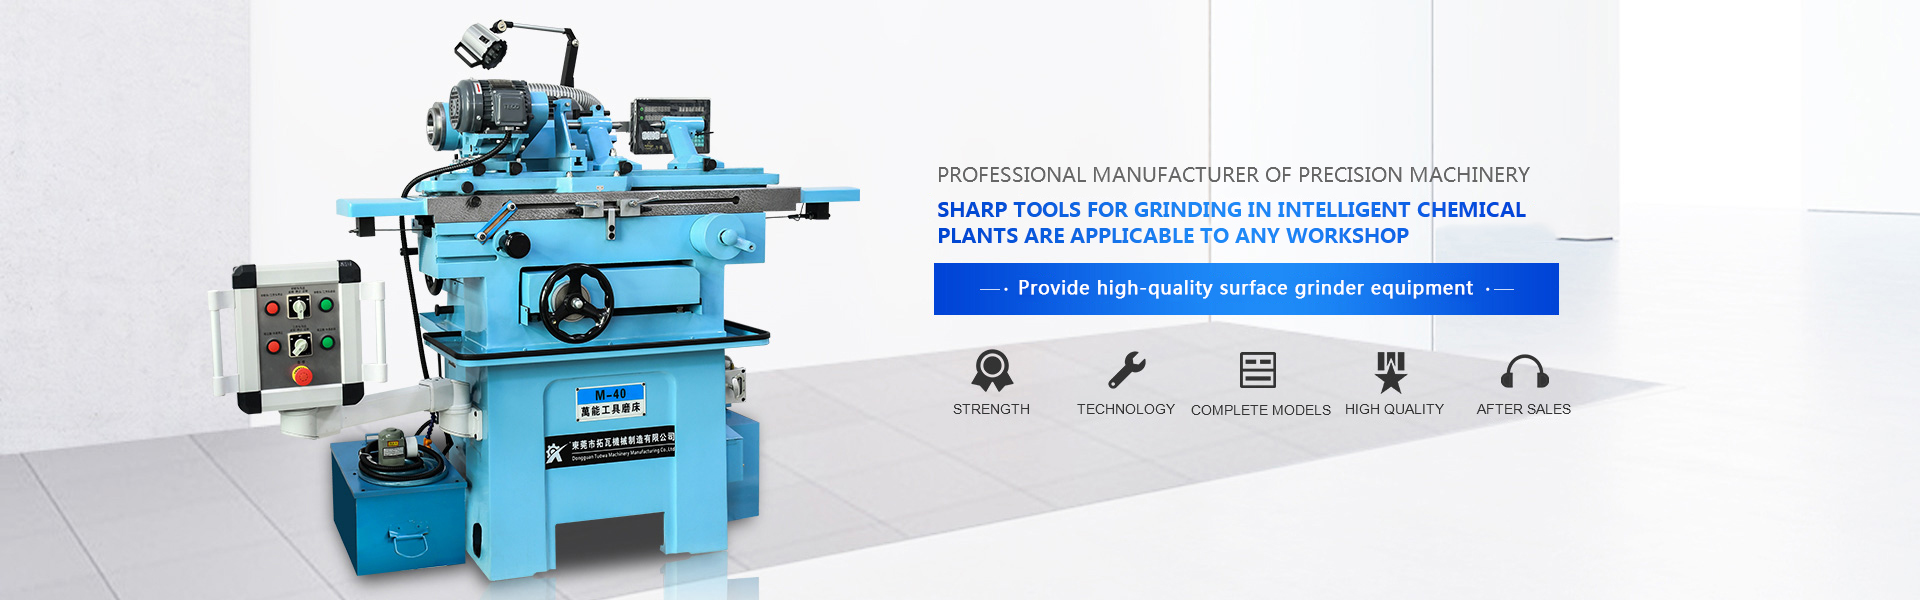
Focus on the production of tool grinders and multi-functional tool grinders
- Service hotline:
- 138-2575-1784


News
1、 Operating procedures of drill grinder
1. Firstly, confirm the material of the drill bit, select the appropriate grinding wheel according to the material of the drill bit, and install it on the equipment.
2. Confirm the diameter of the drill bit, and select the collet configured for the equipment according to the diameter of the drill bit. Generally, the collet is ER20 or ER25 or ER40. The standard and equipment size used by each manufacturer are different.
3. Select the accessories, then clamp them, adjust the grinding amount, turn on the drill grinder, operate the equipment, and observe the operation of the equipment.
4. When the equipment operates normally, start the grinder. First, grind the top angle, and then grind the top angle transverse edge. The size of the cross blade can generally be adjusted by the screw above the static point grinding hole of the equipment, and this adjustment should also be adjusted according to the diameter of the drill bit.
2、 Precautions for using the grinder
1. The drill bit shall be packed in a special packing box to avoid vibration and mutual collision.
2. When in use, the drill bit taken out of the packing box shall be immediately installed in the spring chuck of the spindle or in the tool magazine where the drill bit is automatically replaced. Put it back into the packing box immediately after use.
3. Non contact measuring instruments such as a tool microscope shall be used to measure the diameter of the drill bit, so as to prevent the cutting edge from being damaged due to contact with the mechanical measuring instrument.
4. Some CNC drilling machines use locating rings. Some CNC drilling machines do not use locating rings. If locating rings are used, the depth positioning during installation must be accurate. If locating rings are not used, the elongation of the drill bit installed on the spindle must be adjusted uniformly. For multi spindle drilling machines, this point should be paid more attention to. The drilling depth of each spindle should be
agreement. If they are not consistent, the drill bit may reach the floor or fail to drill through the circuit board, resulting in scrapping.
5. At ordinary times, a 40x stereo microscope can be used to check the wear of the cutting edge of the drill bit.
6. Regularly check the concentricity of the spindle and spring chuck and the clamping force of the spring chuck. Poor concentricity will cause the drill bit with small diameter to break and the hole diameter to be large. Poor clamping force will cause the actual speed and the set speed
3、 Non conformance, slipping between chuck and drill bit.
1. The clamping length of the fixed shank drill bit on the spring chuck shall be 4-5 times of the diameter of the drill handle before it can be clamped firmly.
2. Always check the spindle presser foot. The contact surface of the presser foot shall be horizontal and vertical to the main shaft without shaking, so as to prevent drilling break and deviation during drilling.
3. The dust suction effect of the drilling machine is good. The dust suction wind can reduce the temperature of the drill bit, and colleagues can take away the dust to reduce friction and generate high temperature.
4. The base plate stack, including the upper and lower base plates, shall be firmly positioned and leveled in the one hole one slot positioning system on the workbench of the drilling machine. When using adhesive tape, it is necessary to prevent the drill bit from sticking chips on the tape, causing difficulty in chip removal and bit breakage
5. The timely regrinding of the bit can increase the use and regrinding times of the bit.

scan
开云(中国)

 138-2575-1784